SSO - Microsoft Entra Multitenant
9 min
Overview
When setting up Single Sign-on with Microsoft Entra, there is also an option to use Multitenanted SSO. This can simplify the setup of setting up multiple single sign-on tenants, however, requires a level of administration to the other tenant you want to set it up with.
Preparing Servicely
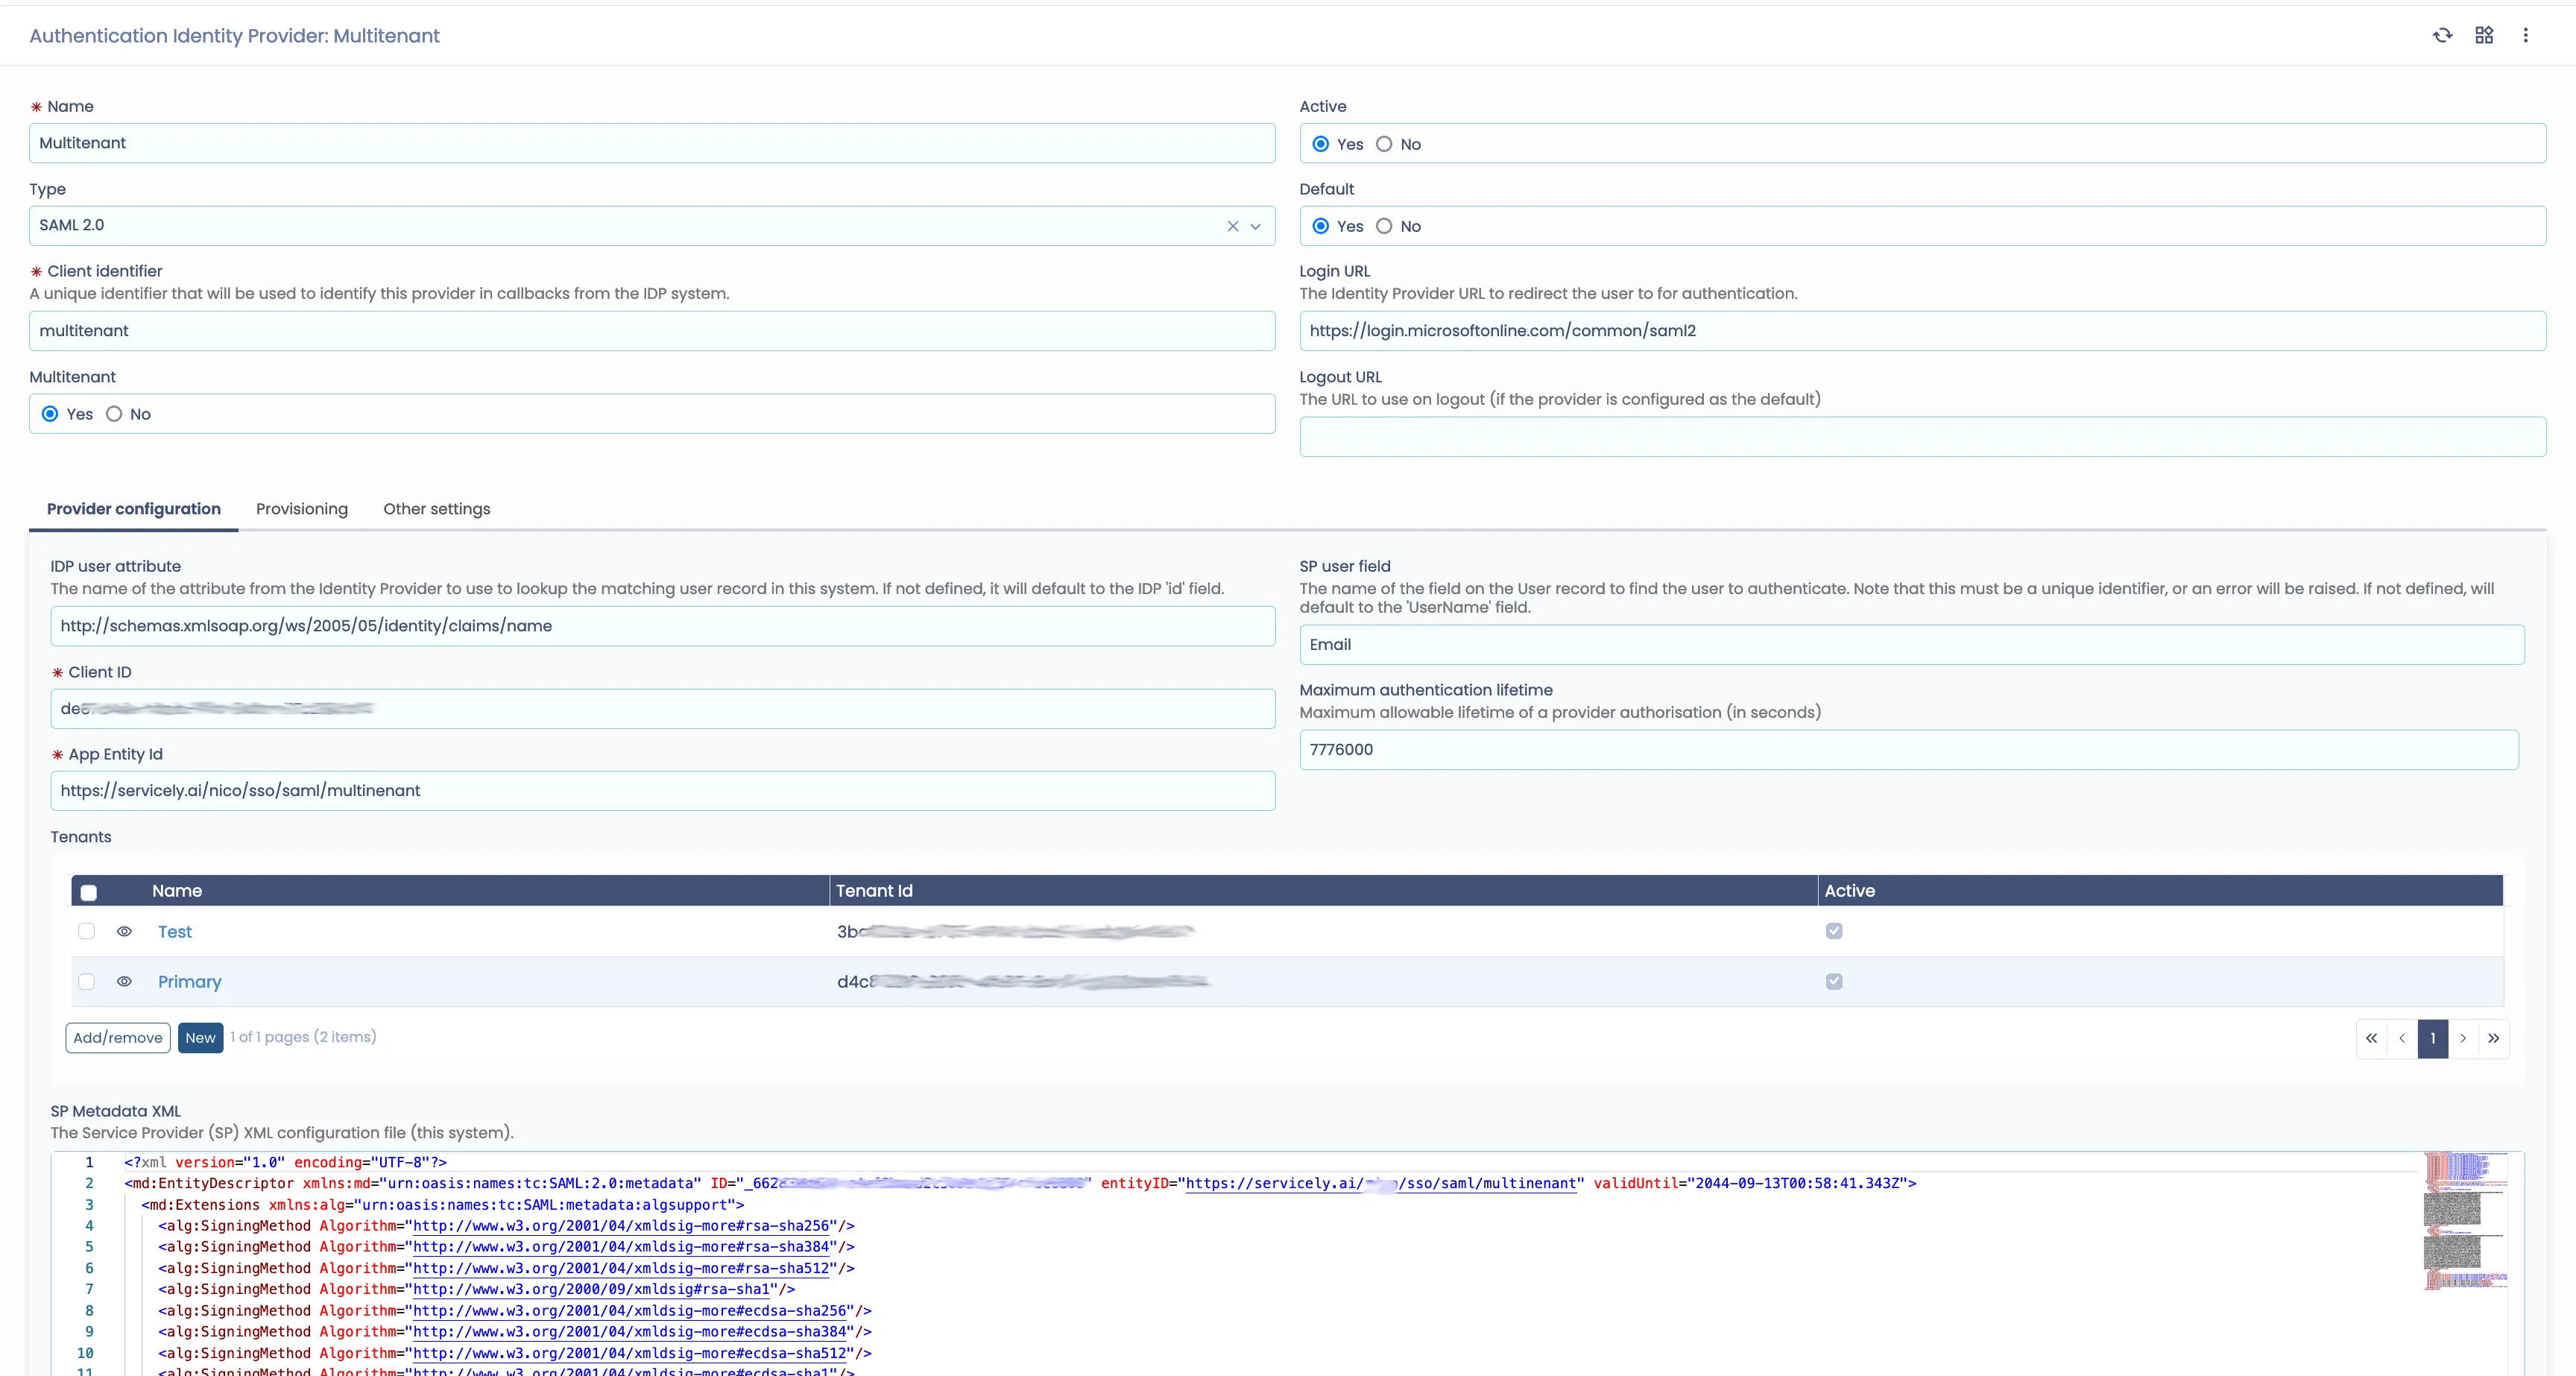
- In Servicely, you will need to create an Identity Provider. Search for Identity provider in the menu, and select New

- Select the Template Microsoft Azure Multitenant

- Enter a name for the provider, a unique ‘Client Identifier’ (will auto-generate), and select Create. This can be changed, but this will need to be noted, when setting up the Microsoft side.
Preparing Azure Active Directory
- Log into the Azure Portal and Search for Enterprise applications
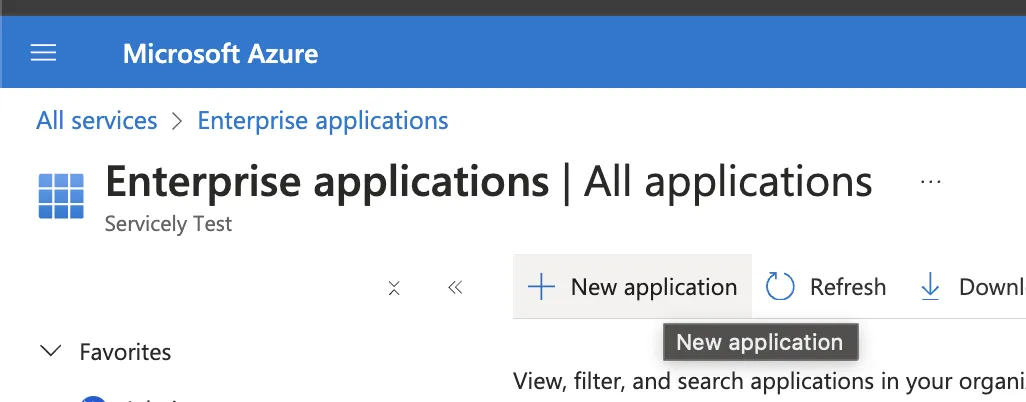
- Select + New Application
- Then + Create your own application
- Select Non-gallery application
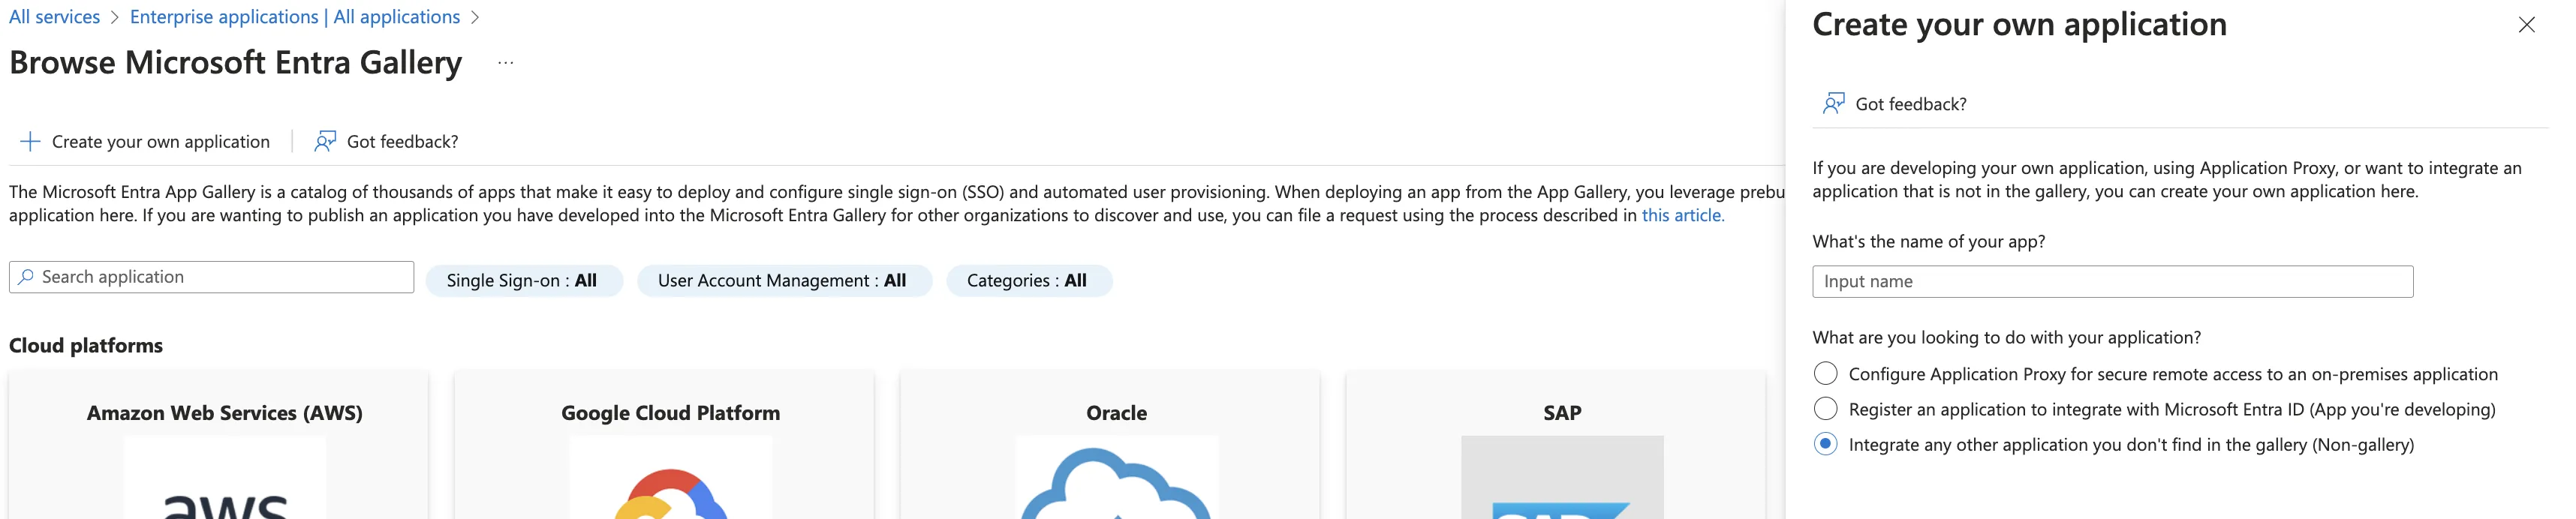
- Provide the Name for the application, and press the Create button.
- Wait for the application to be created
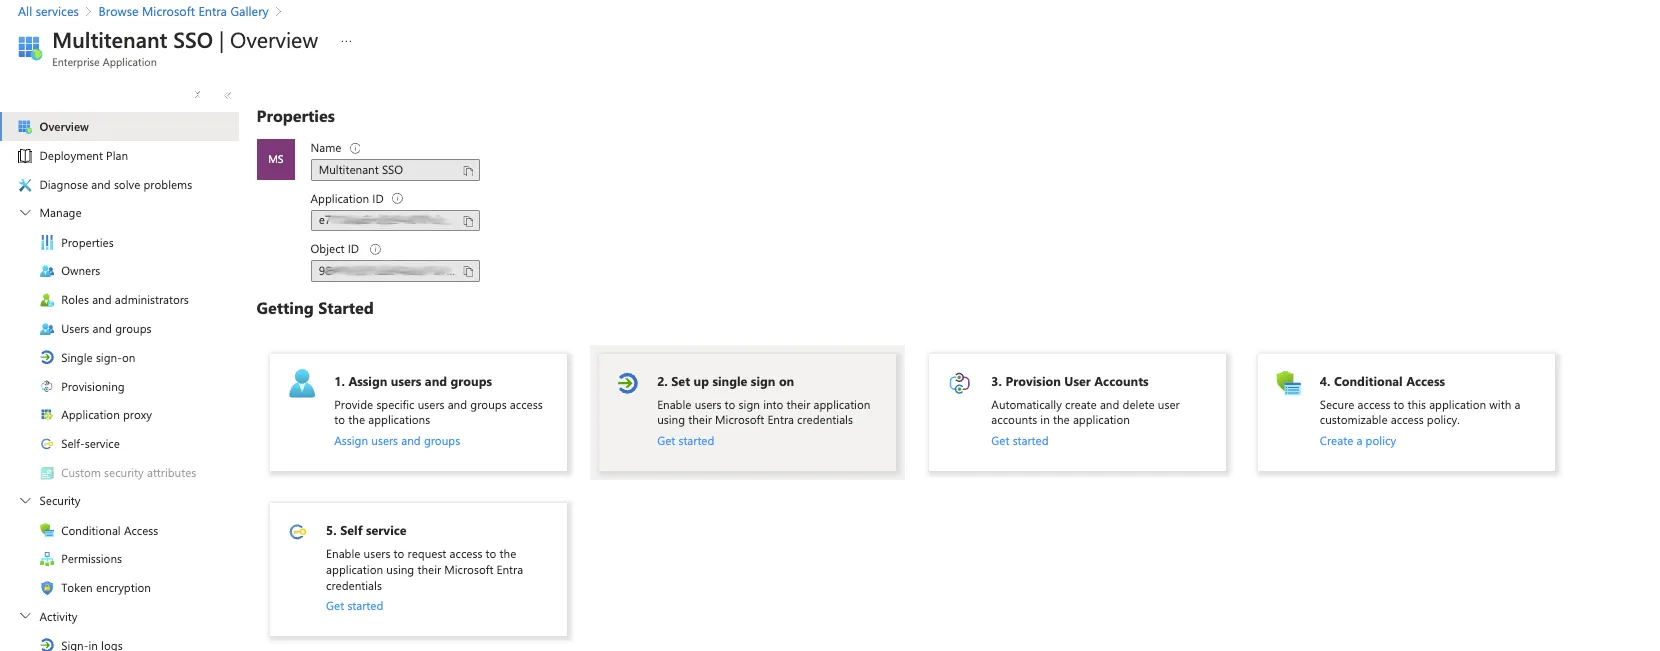
- Select Single sign-on or Set up single sign on
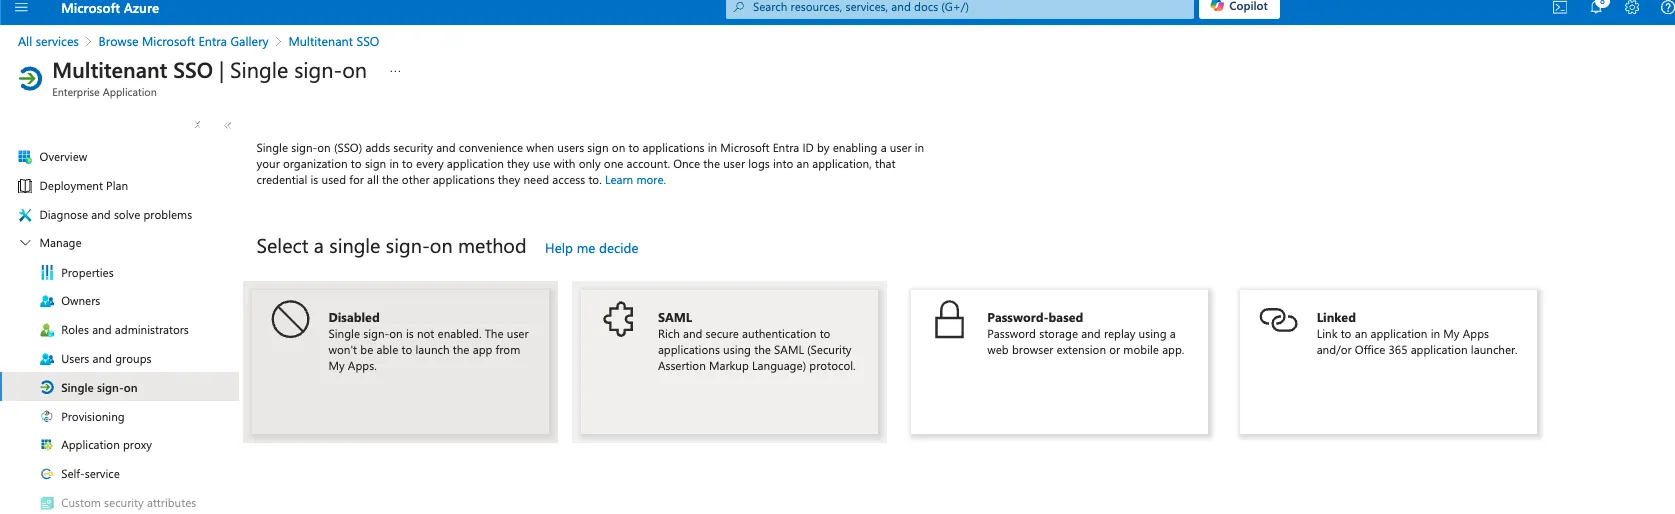
- Select SAML for the Single-sign-on
- Select Edit on the ‘Basic SAML Configuration’ form.
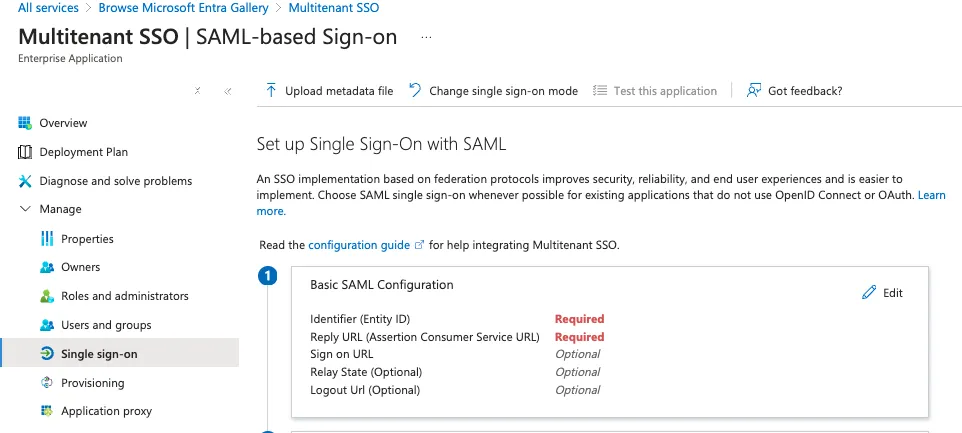
Important: The identity provider needs to starts with a domain that has been verified by Azure. Such as: https://servicely-ai-test.com/idp_callback?client_name=azure_ad_mutitenant
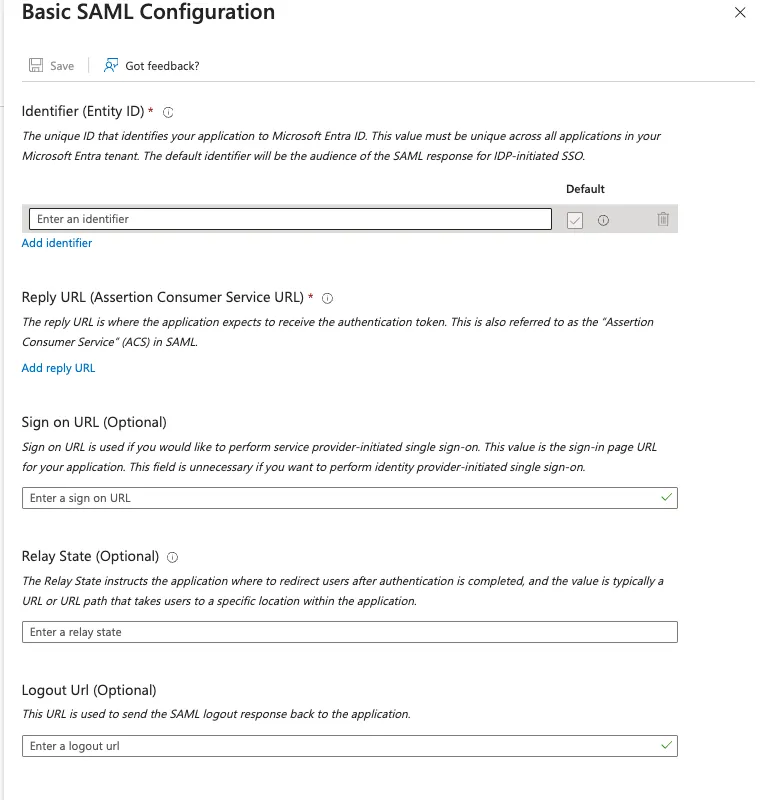
- Enter the values, verify the information carefully and select Save
- In Servicely copy the App Identifier URI in the App Entity Id field.
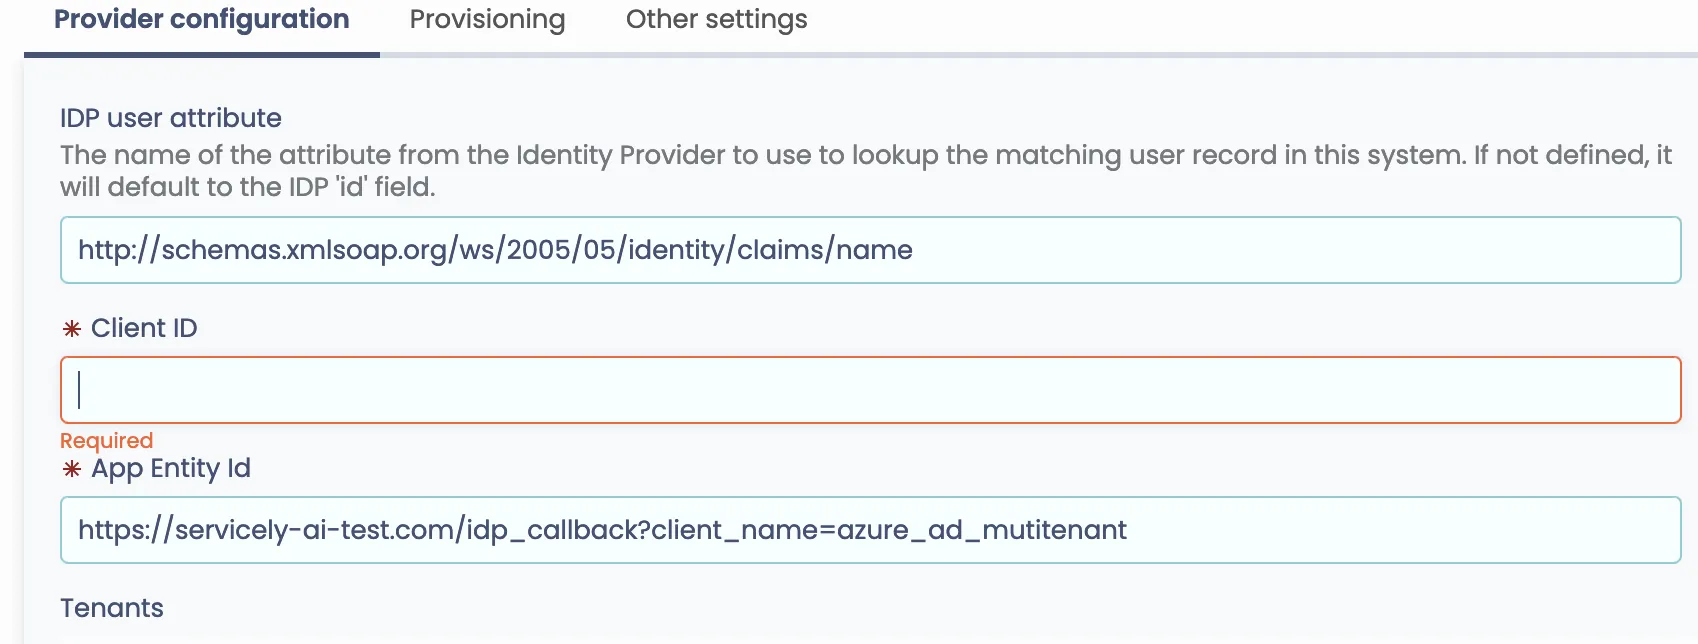
- Switch to the Application Registration matching your Enterprise application
- Select Properties, in the header description click on the application registration link
- In Servicely copy the Application ID (UUID)
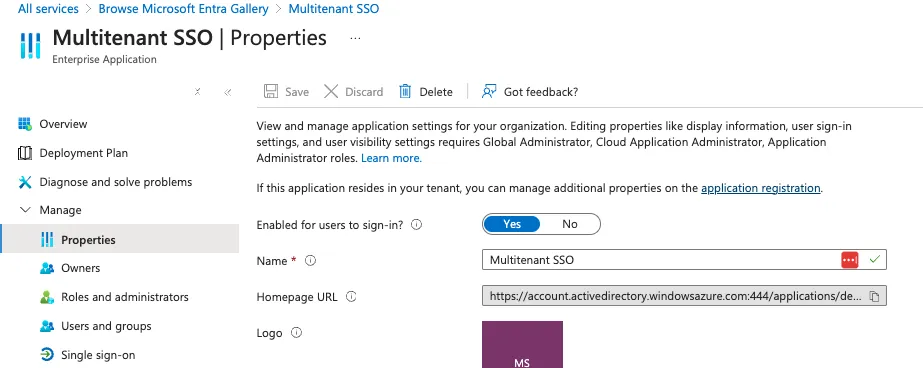
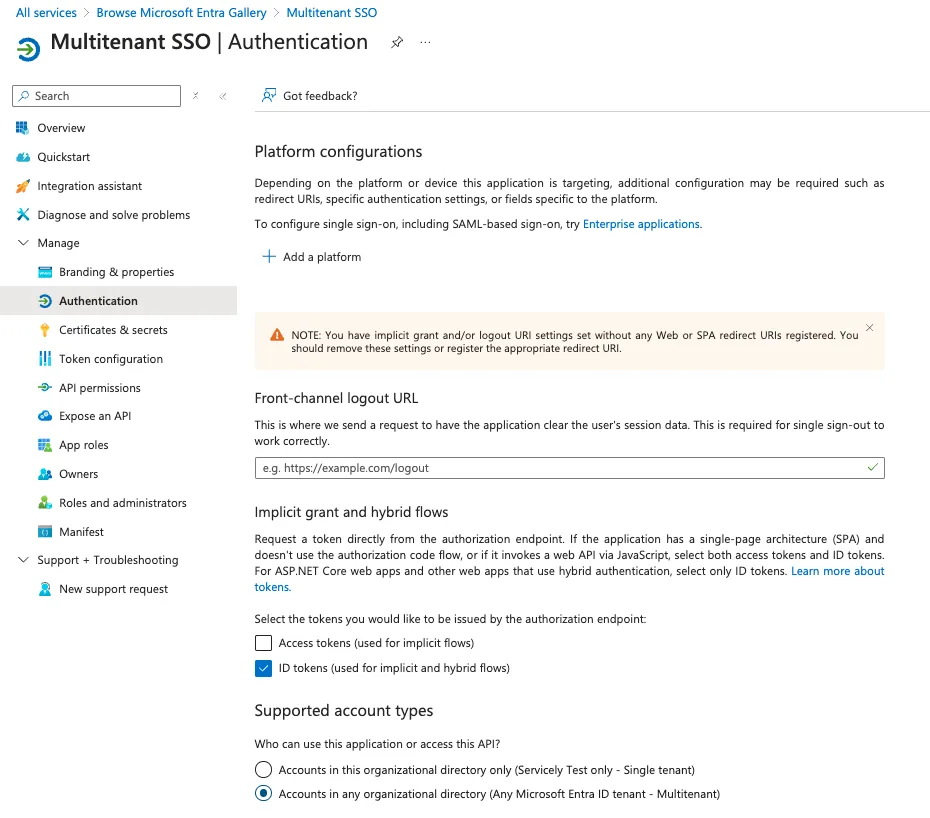
- Select the Authentication menu
- In the Supported account types section select Accounts in any organizational directory (Any Microsoft Entra ID tenant - Multitenant)
- Click Save
- Select the API permissions menu
- Then click on + Add a permission
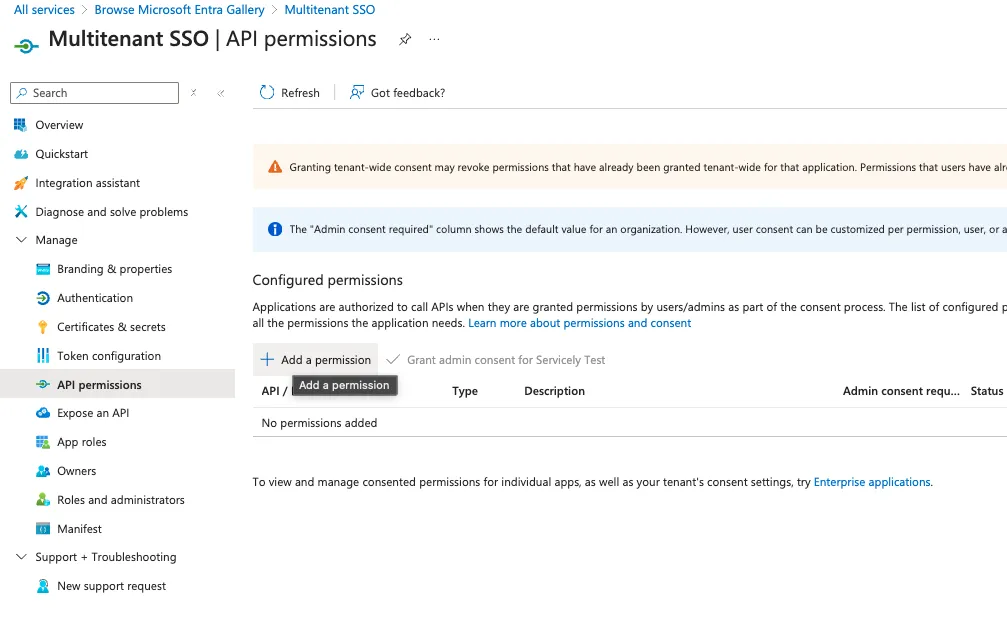
- Select Microsoft Graph
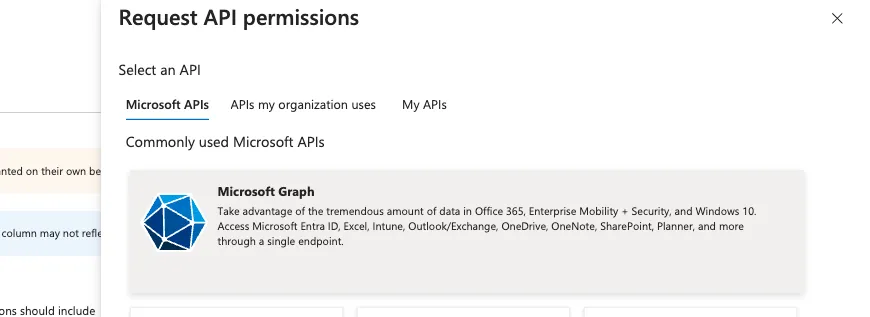
- Select Delegated Permissions
- Search then Select User.Read
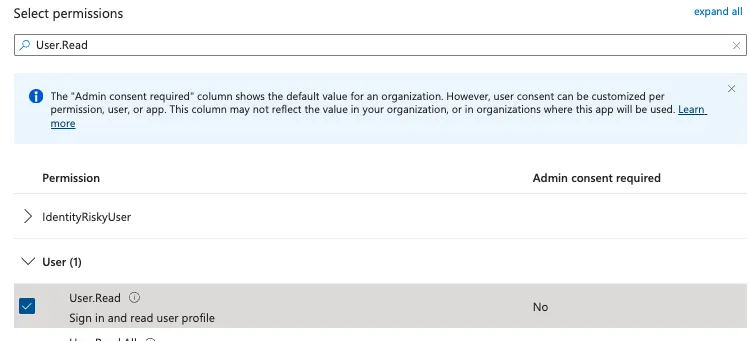
- Click the Add Permissions button
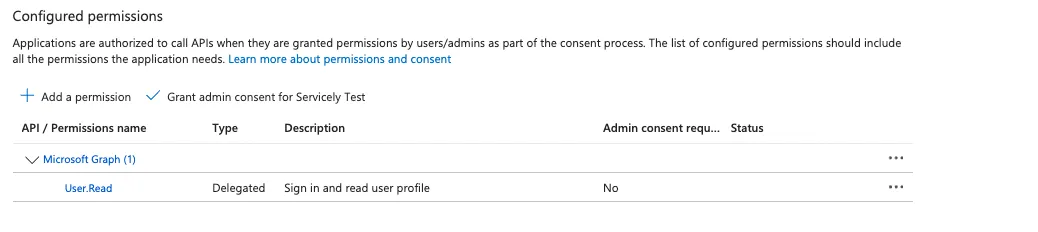
Finish Servicely configuration
- Select Overview
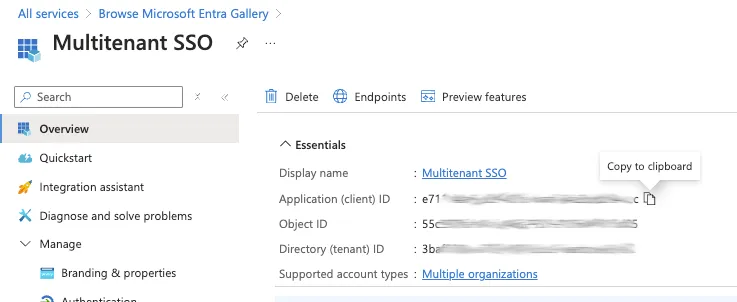
- Copy the Application (client) ID into the Client ID field of the Servicely Identity Provider configuration
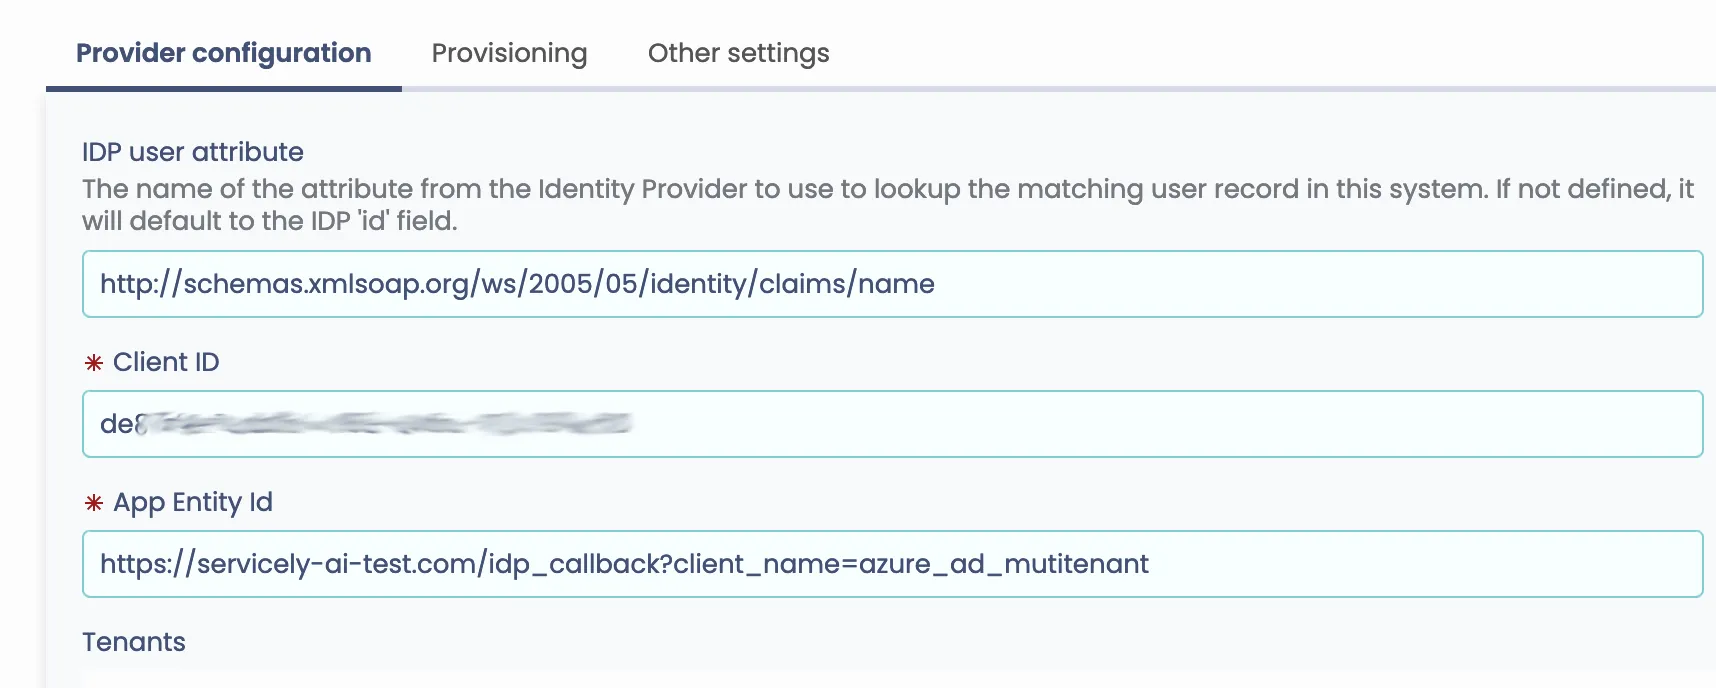
- Create a new Tenant in the Tenants list and copy the Tenant Id in the Tenant Id field
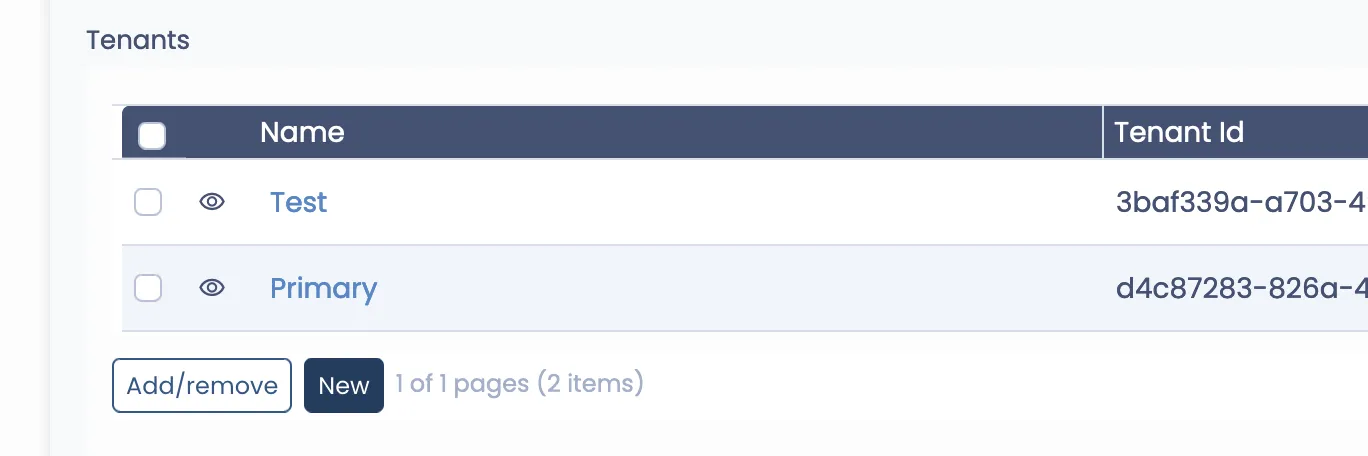
- Then go back to Azure, copy the Directory (tenant) ID
- Save the Servicely configuration
- To add external tenants, add a new tenant in the Tenants list