SSO - Microsoft Entra ID
Please note that in Mid 2023 Microsoft renamed Azure Active Directory to Entra ID.
Microsoft Entra ID (Previously Azure Active Directory) provides a SAML IdP capability that allows you to use your Office 365, or on-premise Active Directory as an authentication mechanism for Servicely.
You will need a Servicely administration account, and an Azure account with administrative privileges
Example walkthrough
Below is a walkthrough video showing the entire process.
Preparing Servicely
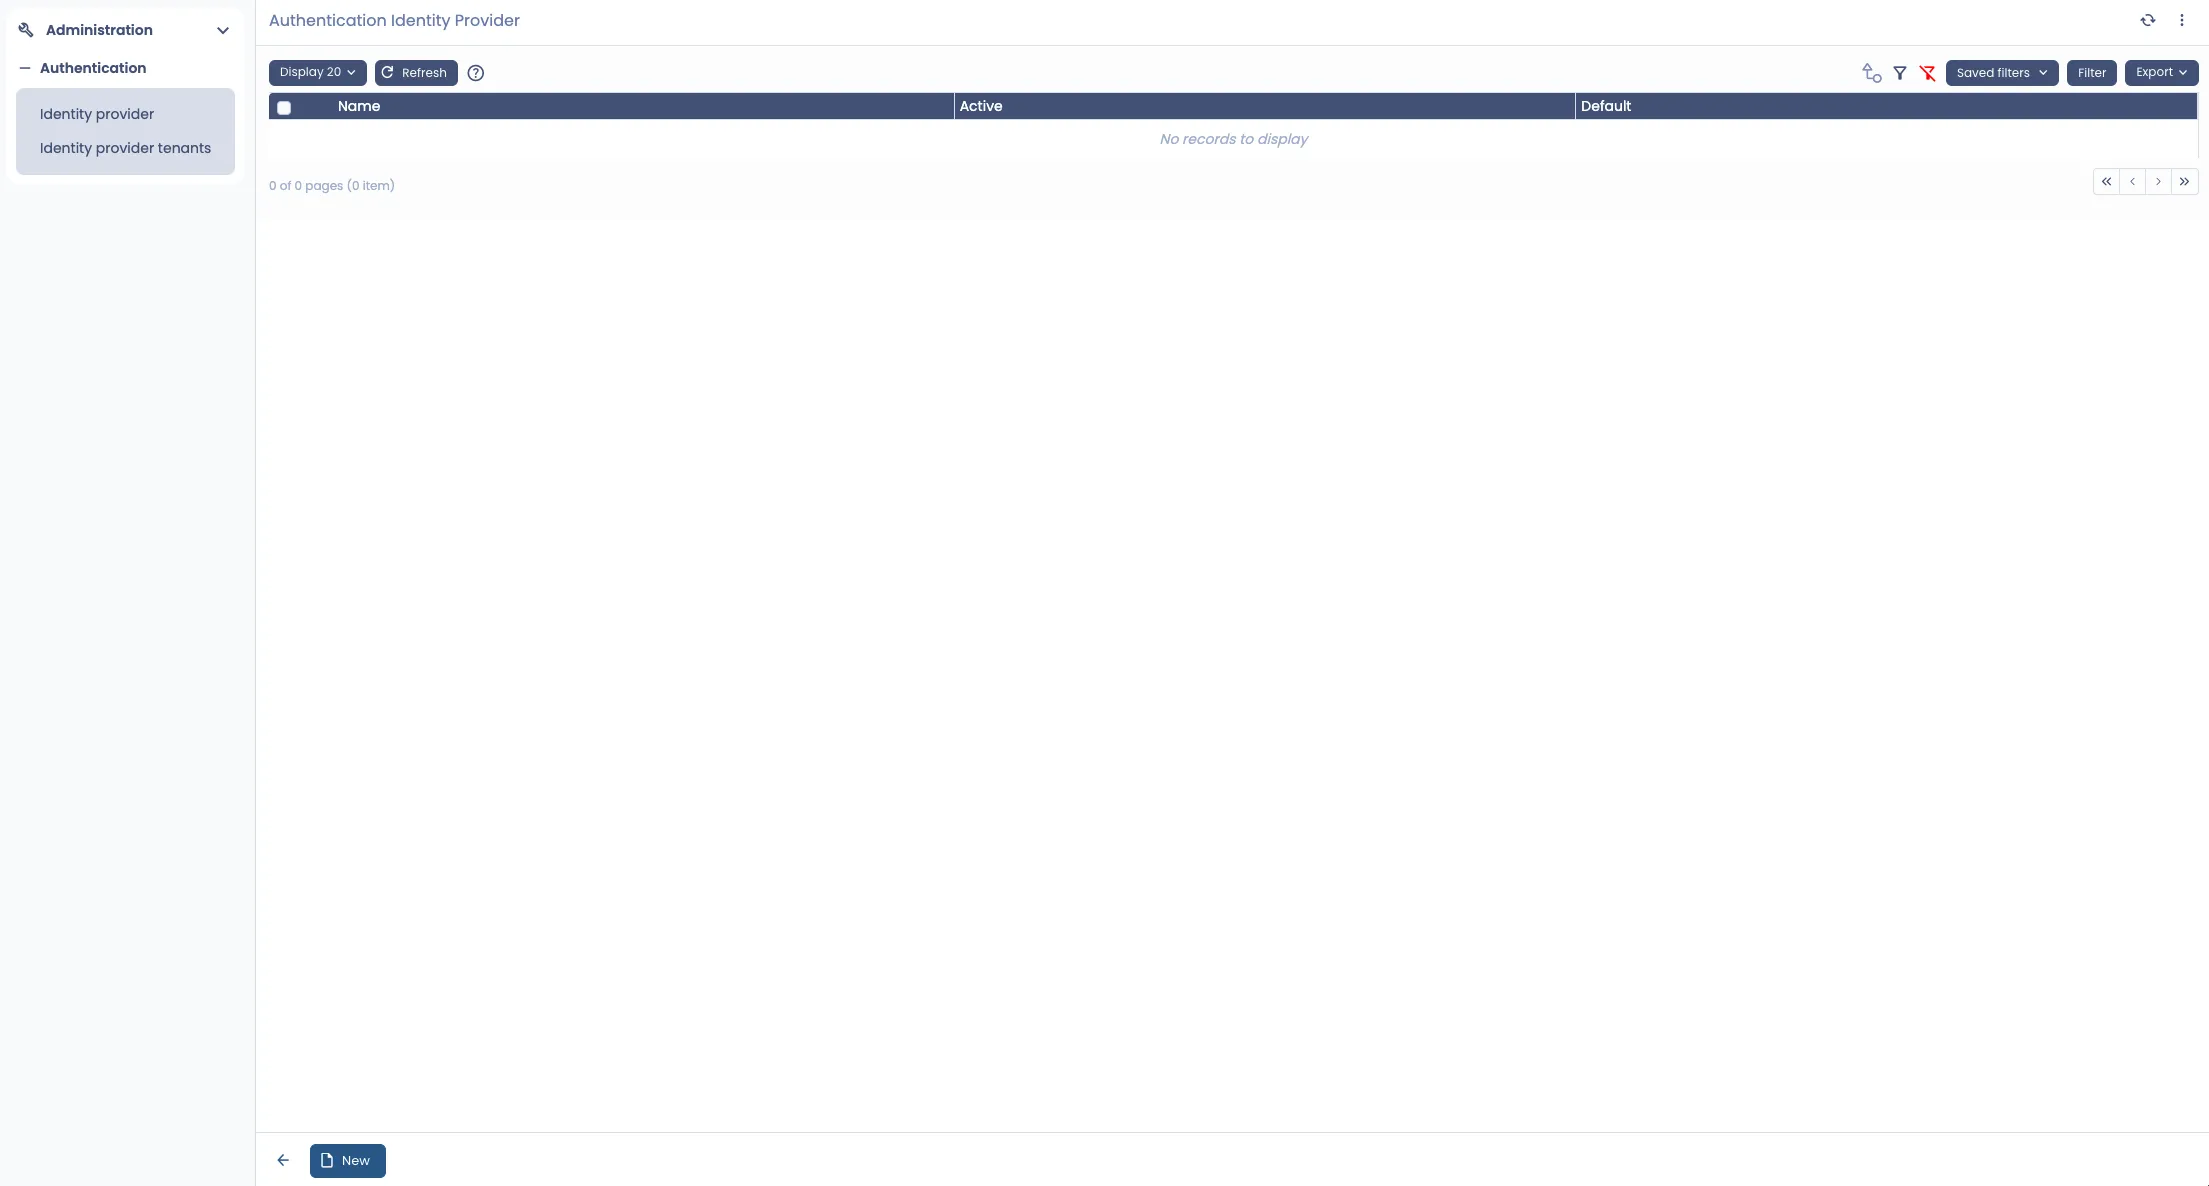
In Servicely, you will need to create an ‘Identity Provider’. Search for ‘Identity provider in the menu, and select 'New’.
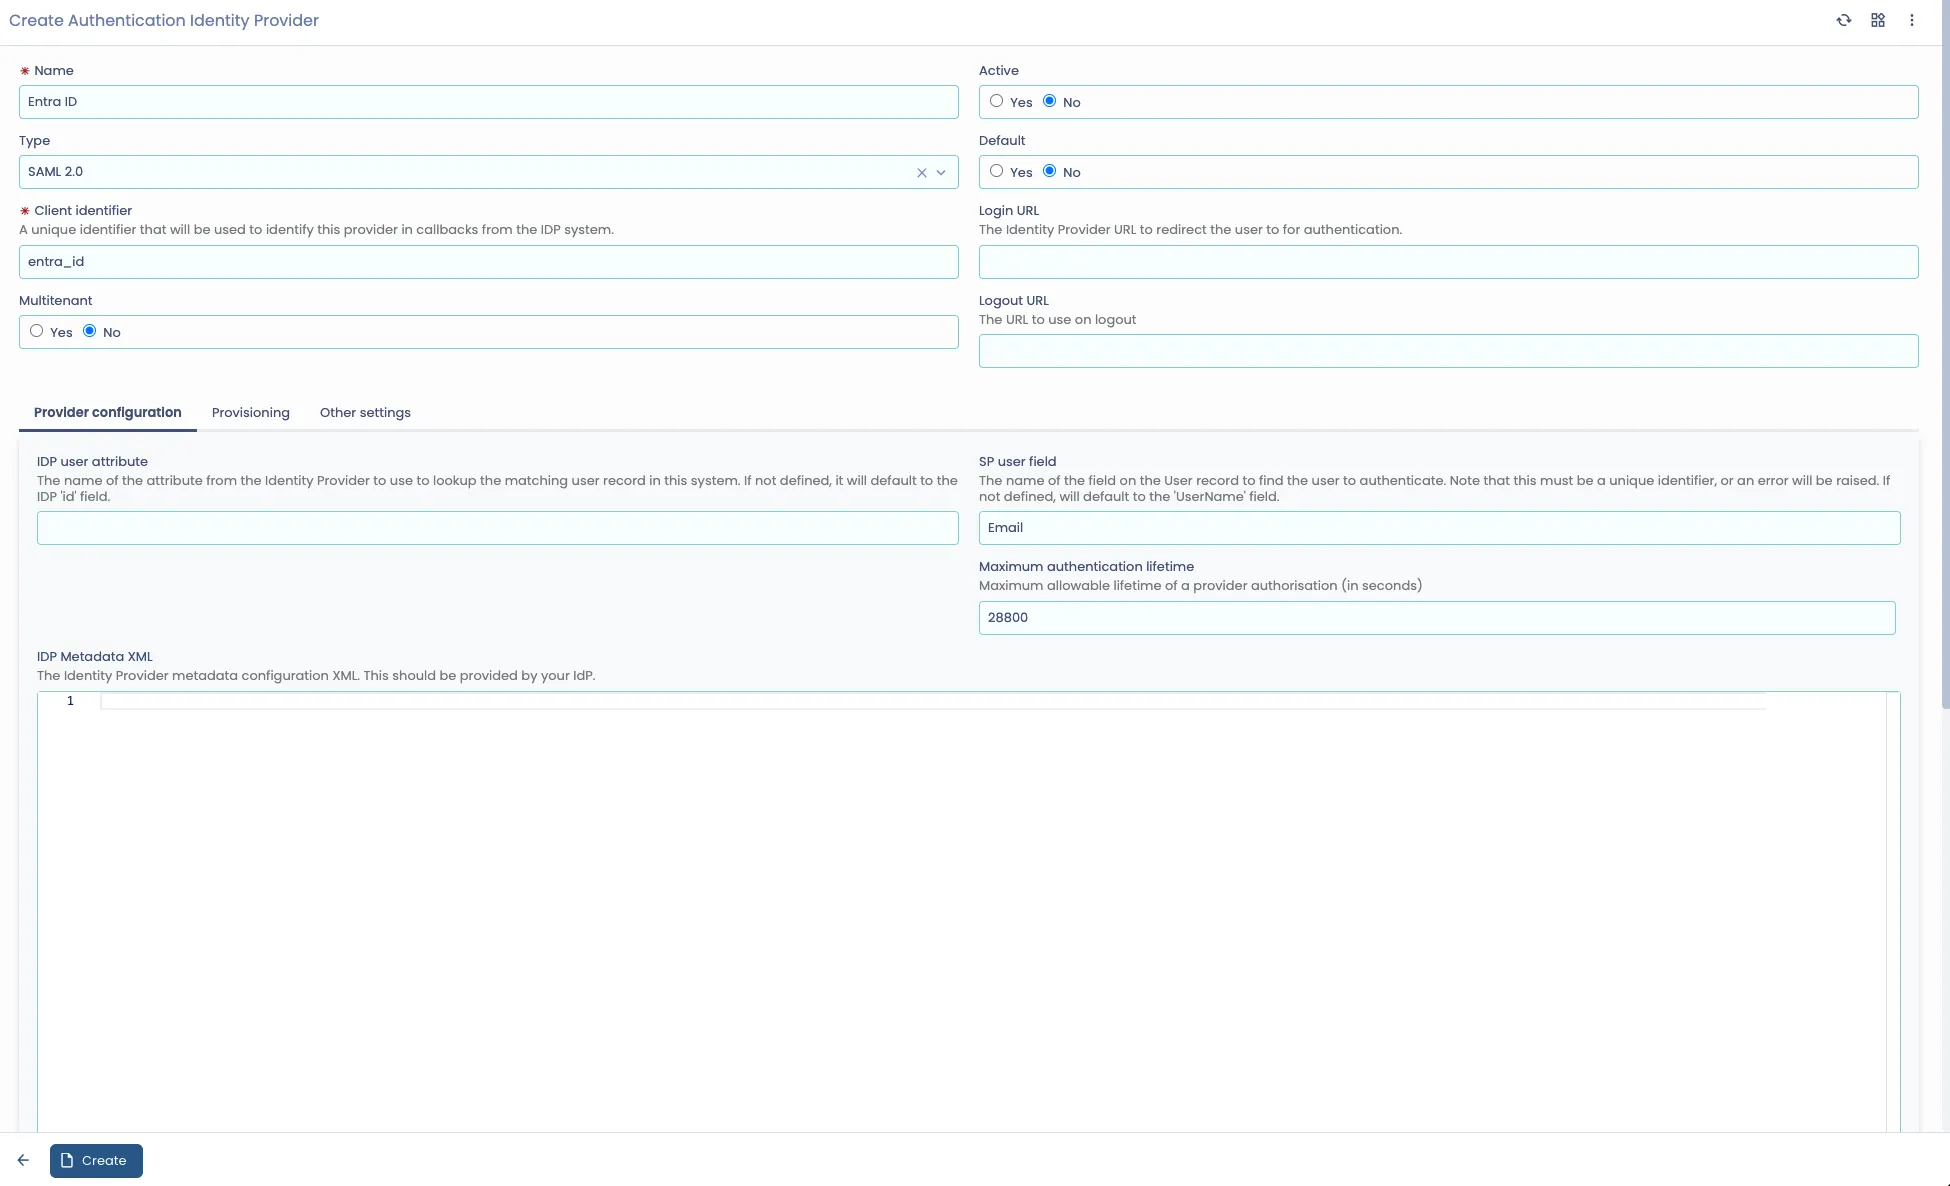
Enter a name for the provider, a unique ‘Client Identifier’ (will auto-generate), and select ‘Create’.
Preparing Entra ID
Log into Entra ID and Navigate to ‘Azure Active Directory’ → ‘Enterprise applications’

Select ‘+ New Application’

Select ‘Non-gallery application’

Provide the ‘Name’ for the application, and press the ‘Add’ button.

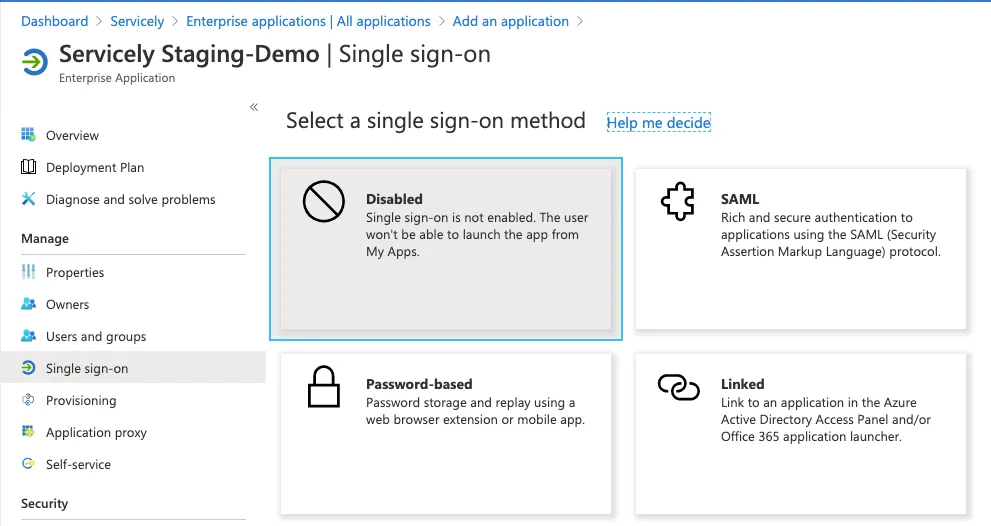
Select ‘Single sign-on’ or ‘Set up single sign on’.

Select ‘SAML’ for the Single-sign-on
Select ‘Edit’ on the ‘Basic SAML Configuration’ form. Example if Client identifier is on Servicely’s Authentication Identity Provider is “azure_ad”.
https://<instancename>.servicely.ai/idp_callback?client_name=azure_ad

Next we need to configure the Identifier, Reply URL, and Logout URL.
These are in the format:
Setting | Value |
|---|---|
Identifier | https://{instance-name}.servicely.ai/idp_callback?client_name={client_identifier} |
Reply URL | https://{instance-name}.servicely.ai/idp_callback?client_name={client_identifier} |
Logout URL | https://{instance-name}.servicely.ai/idp_callback?logoutendpoint=true&client_name={client_identifier} |
Enter the values and select ‘Save’. Below shows an example if the Servicely instance name is staging-demo

Next, add the Users of Groups you want to have access. From the Application select ‘Users and Groups’ and update accordingly.

Finally, return to the ‘Single Sign-On’ screen, and download the ‘Federation Metadata XML’ file.

Optional configuration - Token timeout
By default, Azure AD configures the applications with a 90 Day token expiry (before the user needs to re-authenticate). To change this, you need to configure a ‘Conditional access policy’ with the appropriate rules.
Finish Servicely configuration
Return to the Servicely ‘Identifier Provider’ entry you created above, and paste the content of the ‘Federation Metadata XML’ you downloaded from Azure AD into the ‘IDP Metadata XML’ field, and save the record. Servicely will reformat the document, and generate the appropriate ‘SP Metadata XML’ entry.
Depending on your machine and software used to get the XML, may dependent if it copy pastes correctly. If possible, we typically suggest using a Code editor that sees it as XML or other software that treats it as XML. This is due to software such as Word and WordPad can add extra “hidden” values in the background.

Important configuration options
IdP user attribute and SP user field
The ‘IdP user attribute’ field allows you to customise which SAML property from Azure AD is used to lookup the associated user record in Servicely. This field defaults to the ‘id’ attribute, which is the users Email by default in Azure AD.
The ‘SP user field’ defines the Servicely user field that will be used to lookup the associated user record. By default, this would be ‘Email’ for the default Azure AD configuration.

Maximum authentication lifetime
This field allows you to configure the lifetime of a SAML authorization token. This should be carefully matched to the configuration of the Azure AD Application. By default, Azure AD supports a rolling 90 day window before requiring the user to login again, and will continue issuing the same token to Servicely for that period. This means the value for this field should, by default, be set to ‘7776000’ (90 days in seconds).

Forcing Re-authentication in Entra ID
In some configurations, the lifetime of the Entra ID SAML session is a rolling session, in which case the above ‘Maximum authentication lifetime’ will cause the Servicely application to reject the token returned by Entra ID if the session becomes older that the ‘Maximum authentication lifetime’ value.
To fix this, a ‘Conditional Access’ Rule needs to be configured in the Entra ID Enterprise Application. To create the policy: Enterprise Application → Security → Conditional access → New Policy:

Set the values as below:

Guest user logons
Your guest users can login into Servicely as long as their user records are also synchronized over to Servicely.
However, you may need to update the Entra ID user attribute mapping for the userName attribute, from userPrincipalName to originalUserPrincipalName. Example below:
Microsoft's reference document: https://learn.microsoft.com/en-us/entra/identity/app-provisioning/how-provisioning-works#b2b-guest-users